Jira 和 Confluence 安装和使用
JIRA 介绍
JIRA 是目前比较流行的基于Java架构的管理系统,由于Atlassian公司对很多开源项目实行免费提供缺陷跟踪服务,因此在开源领域,其认知度比其他的产品要高得多,而且易用性也好一些。
JIRA的主要功能
问题追踪和管理:用它管理项目,跟踪任务、bug、需求,通过jira的邮件通知功能进行协作通知,在实际工作中使工作效率提高很多
问题跟进情况的分析报告:可以随时了解问题和项目的进展情况
项目类别管理功能:可以将相关的项目分组管理
组件/模块负责人功能:可以将项目的不同组件/模块指派相应的负责人,来处理所负责的组件的Issues
项目email地址功能:每个项目可以有不同的email(该项目的通知邮件从该地址发出)
无限制的工作流:可以创建多个工作流为不同的项目使用
注意:在企业中使用Jira+Confluence较为常见,而且二者往往都是配套一起部署和使用;
confluence 介绍
Confluence 是一款用于小组知识共享、管理的软件。软件主要应用范围为小组间的信息共享、文档与idea的分享。软件以网站的模式呈现,每个页面均可由授权用户编辑,而页面上所有的改动都将被系统所保存
Confluence 特点
软件以网站的模式呈现。
内容组织在离散的空间(space)中。
用户和组可以通过授权访问每个空间。
基于textile的文本格式。
空间和页面易于改名。
备份和恢复操作简便,自动实现每日备份。
用户管理操作简便。
可实现搜索功能。
跟踪页面的变化历史,版本比较更加清晰
Confluence 能解决哪些问题?

为什么选择 Confluence?
打破 团队孤岛
开放、连接的结构使信息可以在企业所有人之间自由流动。
将对话 转化为行动
建立持久性知识,因此您永远不会在瞬态通知或聊天中失去出色的想法或情境。
所有内容 在同一位置
从季度计划文档到新员工博客,Confluence 应有尽有。
建立开放式团队合作的 文化
借助社交功能,每个级别的员工都可以发声进行表达、分享并接收反馈。
安装环境
CentOS 7.8 系统
confluence 6.3.1 版本
jira 7.4 版本
MySQL 5.7.30
jdk 1.8
免费下载链接
安装包整合:
链接:https://pan.baidu.com/s/17kc7VQk1k3wr4XTHNIt0lA
提取码:apqx
破解工具:
链接:https://pan.baidu.com/s/1Tba0KflPXeNn7xguk-XKMg
提取码:a1ib
搭建步骤
一、安装java环境
二、安装数据库mysql 5.7.30
三、创建应用数据库和账号
1).jira数据库用户帐号
mysql -u root -p
Enter password:
创建数据库jira
//create database jira default character set utf8 collate utf8_bin;
mysql> create database jira default character set utf8mb4 collate utf8mb4_general_ci;
用户jira,密码:changeme
mysql> grant all on jira.* to ‘jira’@’%’ identified by ‘changeme’;
mysql>flush privileges;
2).Confluence数据库用户帐号
mysql -u root -p
Enter password:
创建数据库confluence
mysql> create database confluence default character set utf8mb4 collate utf8mb4_general_ci;
用户confluence,密码:changeme
mysql> grant all on confluence.* to ‘confluence’@’%’ identified by ‘changeme’;
mysql>flush privileges;
3).查看数据库及用户
mysql> select user,host from mysql.user;
+---------------+-----------+
| user          | host      |
+---------------+-----------+
| confluence    | %         |
| jira          | %         |
| root          | %         |
| mysql.session | localhost |
| mysql.sys     | localhost |
+---------------+-----------+
5 rows in set (0.00 sec)1234567891011
4).查询数据库
mysql> show databases;
+--------------------+
| Database           |
+--------------------+
| information_schema |
| confluence         |
| jira               |
| mysql              |
| performance_schema |
| sys                |
+--------------------+
6 rows in set (0.00 sec)123456789101112
四、搭建jira 服务
1.下载安装包,破解工具
2.上传工具包到linux 系统里
3.授予执行权限
unzip Atlassian.zip
chmod +x *.bin
4.解压安装
cd /usr/local/jira
./atlassian-jira-software-7.4.1-x64.bin
Unpacking JRE …
Starting Installer …
九月 03, 2020 5:53:52 下午 java.util.prefs.FileSystemPreferences$1 run
信息: Created user preferences directory.
九月 03, 2020 5:53:52 下午 java.util.prefs.FileSystemPreferences$2 run
信息: Created system preferences directory in java.home.This will install JIRA Software 7.4.1 on your computer.
OK [o, Enter], Cancel [c]
o 按 o
Choose the appropriate installation or upgrade option.
Please choose one of the following:
Express Install (use default settings) [1], Custom Install (recommended for advanced users) [2, Enter], Upgrade an existing JIRA installation [3]
1 使用默认设置,按 1
Details on where JIRA Software will be installed and the settings that will be used.
Installation Directory: /opt/atlassian/jira
Home Directory: /var/atlassian/application-data/jira
HTTP Port: 8080
RMI Port: 8005
Install as service: Yes
Install [i, Enter], Exit [e]
i 按 i 安装Extracting files …
Please wait a few moments while JIRA Software is configured.
Installation of JIRA Software 7.4.1 is complete
Start JIRA Software 7.4.1 now?
Yes [y, Enter], No [n]
y 开启服务,按 yPlease wait a few moments while JIRA Software starts up.
Launching JIRA Software …
Installation of JIRA Software 7.4.1 is complete
Your installation of JIRA Software 7.4.1 is now ready and can be accessed
via your browser.
JIRA Software 7.4.1 can be accessed at http://localhost:8080
Finishing installation …
5.查看服务进程,端口号
netstat -ntap |grep 8080

ps -ef |grep jira

6.备份一下
cp /opt/atlassian/jira/atlassian-jira/WEB-INF/lib/atlassian-extras-3.2.jar /opt/Atlassian/
拷贝数据库连接到 lib 目录
cp /opt/Atlassian/mysql-connector-java-5.1.39-bin.jar /opt/atlassian/jira/atlassian-jira/WEB-INF/lib/
7.破解插件
将atlassian-extras-3.2.jar上传到window客户端,重命名为atlassian-extras-2.2.2.jar,使用破解工具进行破解


8.替换文件
破解后文件放在
/opt/atlassian/jira/atlassian-jira/WEB-INF/lib/目录下,替换atlassian-extras-3.2.jar
mv /root/atlassian-extras-2.2.2.jar /opt/atlassian/jira/atlassian-jira/WEB-INF/lib/
mv /opt/atlassian/jira/atlassian-jira/WEB-INF/lib/atlassian-extras-2.2.2.jar /opt/atlassian/jira/atlassian-jira/WEB-INF/lib/atlassian-extras-3.2.jar
9.重启服务
cd /opt/atlassian/jira/bin
sh shutdown.sh
sh startup.sh
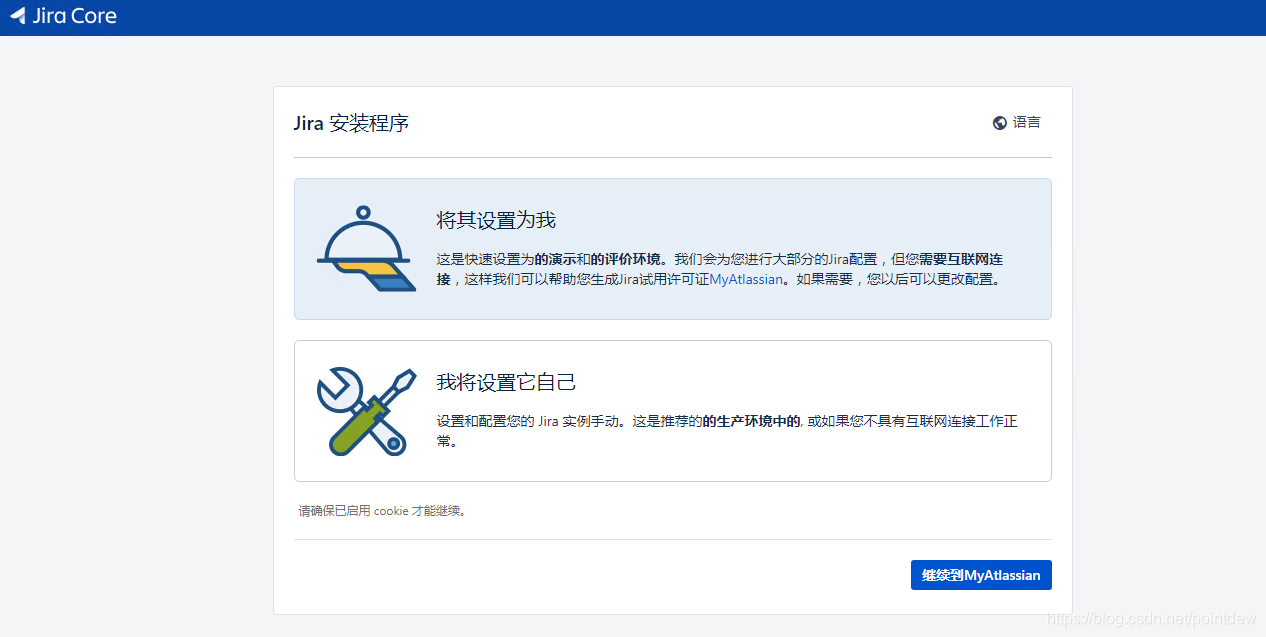
10.进入页面安装
http://192.168.111.135:8080/


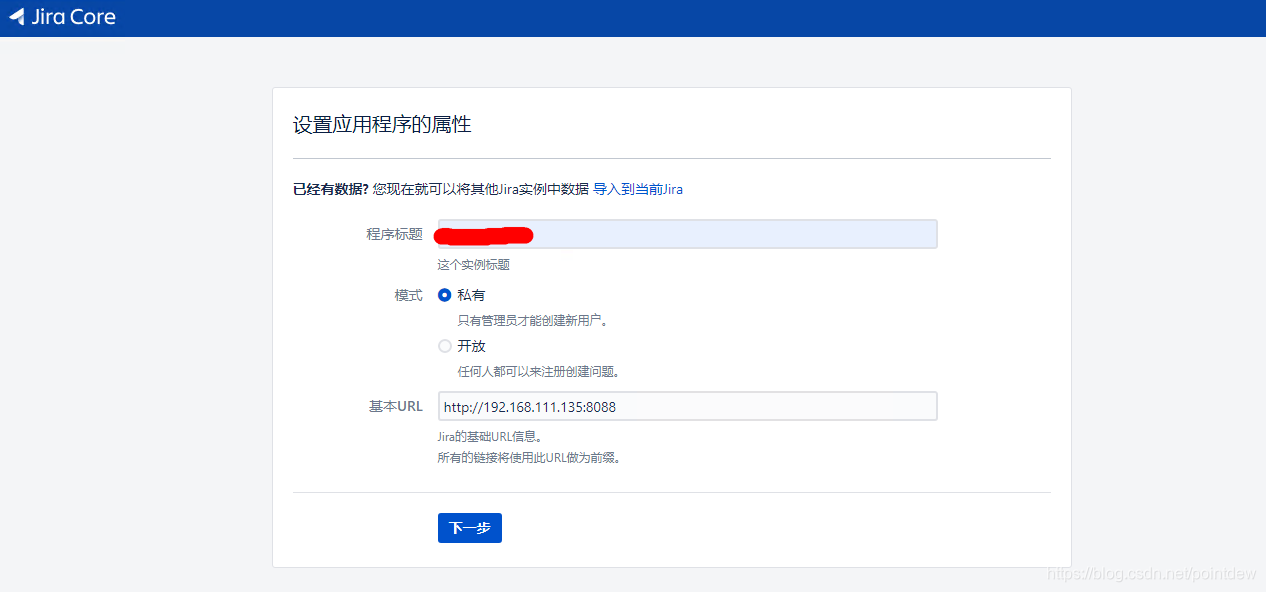
11.数据库设置


12.破解教程如下


13.破解完成,继续安装


14.查看版本信息

五、搭建confluence服务
先授予执行权限
chmod +x *.bin
1.解压安装
./atlassian-confluence-6.3.1-x64.bin
./atlassian-confluence-6.3.1-x64.bin
Unpacking JRE …
Starting Installer …
九月 03, 2020 8:42:32 下午 java.util.prefs.FileSystemPreferences$2 run
信息: Created system preferences directory in java.home.This will install Confluence 6.3.1 on your computer.
OK [o, Enter], Cancel [c]
o
Choose the appropriate installation or upgrade option.
Please choose one of the following:
Express Install (uses default settings) [1],
Custom Install (recommended for advanced users) [2, Enter],
Upgrade an existing Confluence installation [3]
1 默认目录安装按1,自定义安装可以修改安装路径、数据存放路径和两个端口,一个http端口,另一个control端口
See where Confluence will be installed and the settings that will be used.
Installation Directory: /opt/atlassian/confluence
Home Directory: /var/atlassian/application-data/confluence
HTTP Port: 8090
RMI Port: 8000
Install as service: Yes
Install [i, Enter], Exit [e]
i 安装按iExtracting files …
Please wait a few moments while we configure Confluence.
Installation of Confluence 6.3.1 is complete
Start Confluence now?
Yes [y, Enter], No [n]
y 开启服务按yPlease wait a few moments while Confluence starts up.
Launching Confluence …
Installation of Confluence 6.3.1 is complete
Your installation of Confluence 6.3.1 is now ready and can be accessed via
your browser.
Confluence 6.3.1 can be accessed at http://localhost:8090 访问地址
Finishing installation …
2.备份,添加mysql驱动包
先把atlassian-extras-decoder-v2-3.2.jar包拷贝到Windows环境中,重命名为atlassian-extras-2.4.jar
#备份
mv /opt/atlassian/confluence/confluence/WEB-INF/lib/atlassian-extras-decoder-v2-3.2.jar /opt/
#添加mysql 驱动
cp /opt/Atlassian/mysql-connector-java-5.1.39-bin.jar /opt/atlassian/confluence/confluence/WEB-INF/lib/
破解前先停止confluence,停止服务器前可以先初始化一些配置,并获取到服务器ID:

/opt/atlassian/confluence/bin/stop-confluence.sh1
3.破解插件

上传破解的文件atlassian-extras-2.4.jar到服务器上,并移动到原来的位置
# 备份mv /root/atlassian-extras-2.4.jar /opt/# 上传破解的文件到服务器上,并移动到原来的位置cp /opt/atlassian-extras-2.4.jar /opt/atlassian/confluence/confluence/WEB-INF/lib/atlassian-extras-decoder-v2-3.2.jar12345
4.重启服务
启动confluence
service confluence restart
# 或
/opt/atlassian/confluence/bin/start-confluence.sh123
# service confluence restart
executing using dedicated user
If you encounter issues starting up Confluence, please see the Installation guide at http://confluence.atlassian.com/display/DOC/Confluence+Installation+Guide

Server startup logs are located in /opt/atlassian/confluence/logs/catalina.out
---------------------------------------------------------------------------
Using Java: /opt/atlassian/confluence/jre//bin/java
2020-09-03 21:28:02,791 INFO [main] [atlassian.confluence.bootstrap.SynchronyProxyWatchdog] A Context element for ${confluence.context.path}/synchrony-proxy is found in /opt/atlassian/confluence/conf/server.xml. No further action is required
---------------------------------------------------------------------------
Using CATALINA_BASE:   /opt/atlassian/confluence
Using CATALINA_HOME:   /opt/atlassian/confluence
Using CATALINA_TMPDIR: /opt/atlassian/confluence/temp
Using JRE_HOME:        /opt/atlassian/confluence/jre/
Using CLASSPATH:       /opt/atlassian/confluence/bin/bootstrap.jar:/opt/atlassian/confluence/bin/tomcat-juli.jar
Using CATALINA_PID:    /opt/atlassian/confluence/work/catalina.pid
Tomcat stopped.

To run Confluence in the foreground, start the server with start-confluence.sh -fg
executing using dedicated user: confluence
If you encounter issues starting up Confluence, please see the Installation guide at http://confluence.atlassian.com/display/DOC/Confluence+Installation+Guide

Server startup logs are located in /opt/atlassian/confluence/logs/catalina.out
---------------------------------------------------------------------------
Using Java: /opt/atlassian/confluence/jre//bin/java
2020-09-03 21:28:11,146 INFO [main] [atlassian.confluence.bootstrap.SynchronyProxyWatchdog] A Context element for ${confluence.context.path}/synchrony-proxy is found in /opt/atlassian/confluence/conf/server.xml. No further action is required
---------------------------------------------------------------------------
Using CATALINA_BASE:   /opt/atlassian/confluence
Using CATALINA_HOME:   /opt/atlassian/confluence
Using CATALINA_TMPDIR: /opt/atlassian/confluence/temp
Using JRE_HOME:        /opt/atlassian/confluence/jre/
Using CLASSPATH:       /opt/atlassian/confluence/bin/bootstrap.jar:/opt/atlassian/confluence/bin/tomcat-juli.jar
Using CATALINA_PID:    /opt/atlassian/confluence/work/catalina.pid
Tomcat started.123456789101112131415161718192021222324252627282930313233
重启服务后完成其他安装和设置
5.网页安装
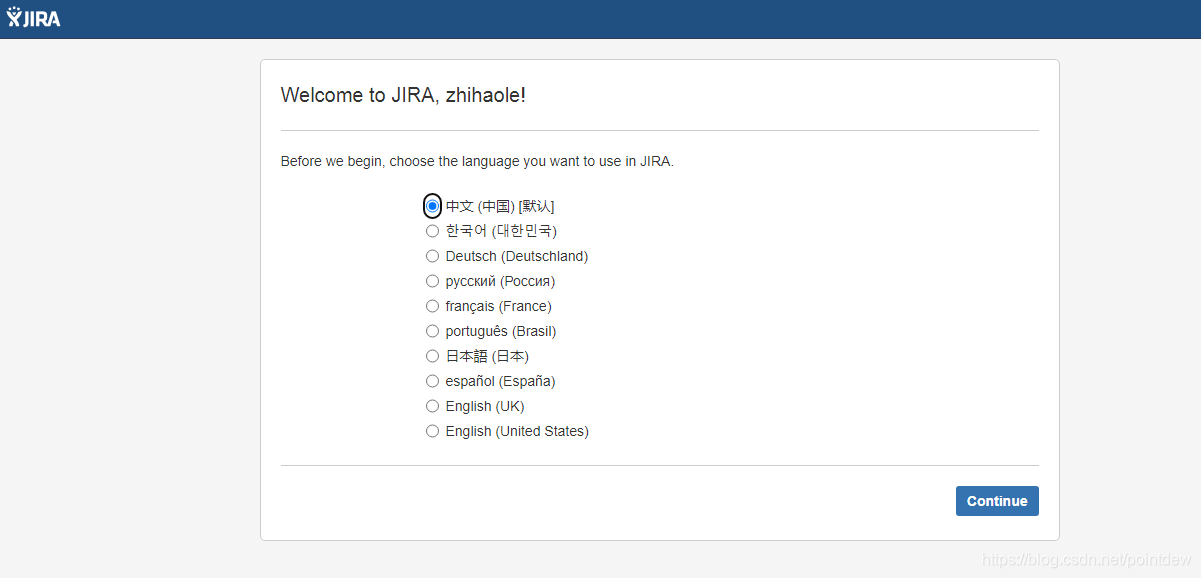
选择中文,选择产品安装

获取插件全选

6.破解授权码


7.数据库设置

点击外部数据库,选择JDBC

JDBC设置

发生如下错误:
配置数据库失败
java.sql.SQLException: Access denied for user ‘confluence’@‘192.168.111.137’ (using password: YES)
解决方法:检查IP是否正确,本机localhost可以不带端口,非本机需要加端口
点击下一步,耐心等待大概5-10分钟,可以查看下数据库,刷新一下表看,正在建表和初始化数据
有108张表,jira是250张表。完成数据库初始化后,进入下面页面:

8.配置用户管理

设置管理员帐号


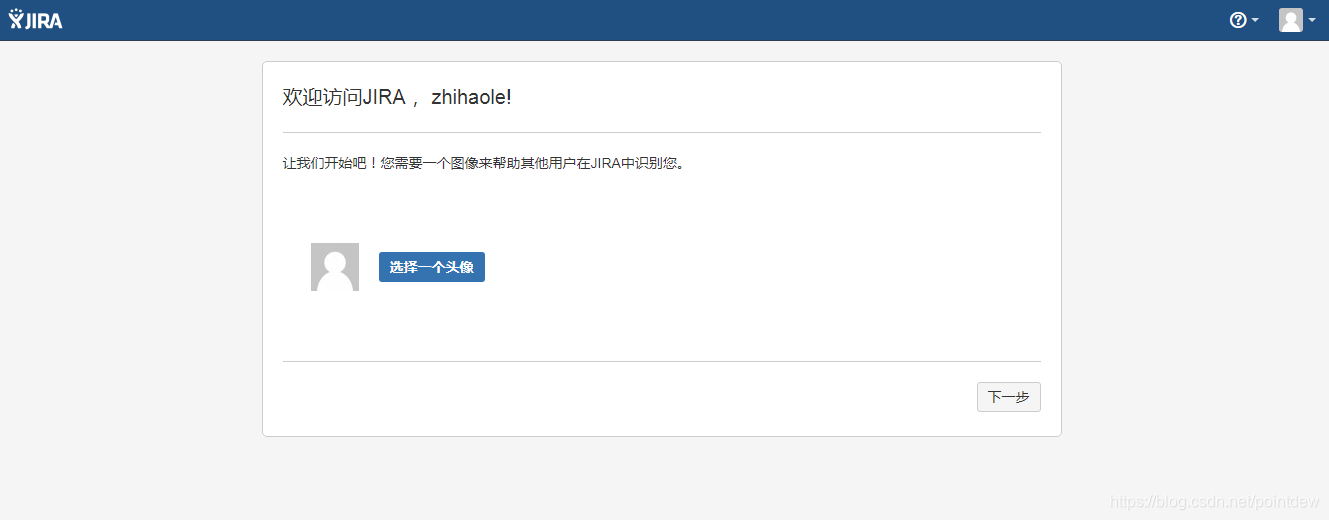
9.初始化设置
欢迎可跳过,亦可设置

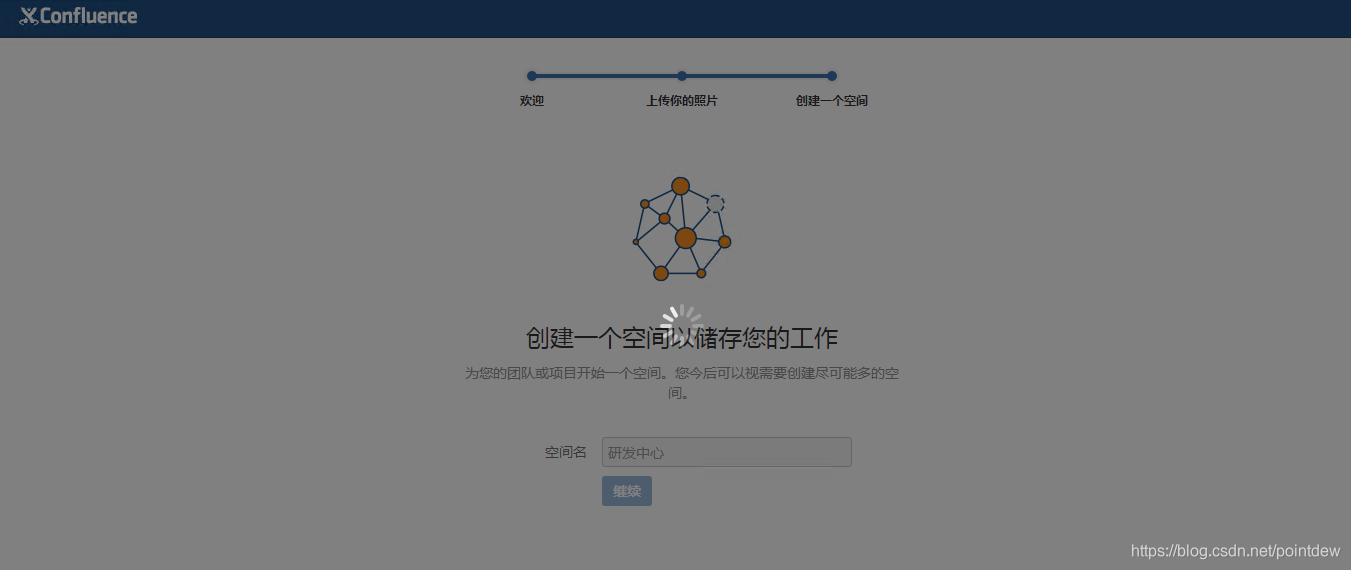
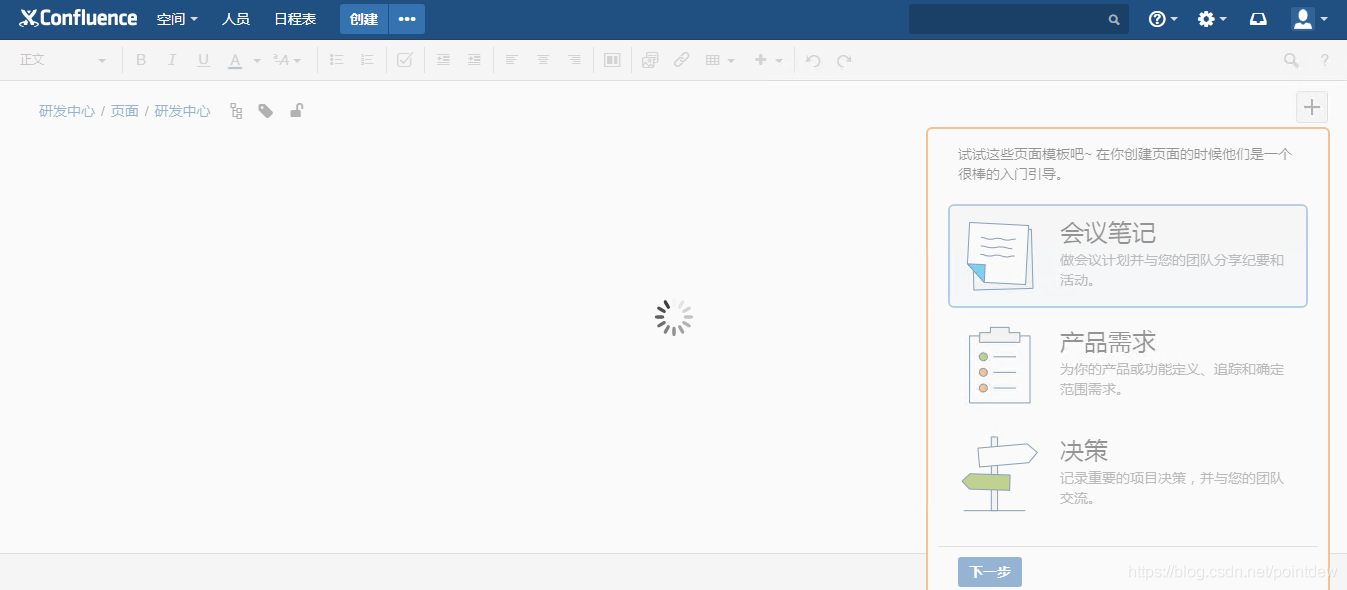
10.创建空间
11、授权码细节

总结
1.安装过程较长,需要一定耐心,一步步按此教程安装下去,记住,要先安装jira !
2.文章教程为演示,confluence和jira在一台服务器上面部署了,实际生产环境中,最好分2台服务器部署,mysql数据库也可分开部署。
3.在部署confluence服务过程中,一定要选择与jira连接,否则后面再去连接2者,会很麻烦的。
4.部署完成后,还有会出现很多问题,我会在后面的博客中写出来,敬请期待!
jira 修改基本url
因为使用代理,需要修改基本url,可以从propertystring表中检索基本网址:
select propertyvalue from propertyentry PEjoin propertystring PS on PE.id=PS.idwhere PE.property_key = 'jira.baseurl';/* 查询结果 */http://192.168.111.135:8088123456
要更新基本URL,请在JIRA数据库中运行以下更新,替换URL并重新启动JIRA。
update propertystringset propertyvalue = 'http://pro.tfedu.net'from propertyentry PEwhere PE.id=propertystring.idand PE.property_key = 'jira.baseurl';update propertystringset propertyvalue = 'http://pro.tfedu.net' where propertystring.id=(select PE.id from propertyentry PE join propertystring PS on PE.id=PS.idwhere PE.property_key = 'jira.baseurl');12345678910
相关资料
官网:https://www.atlassian.com/
中文官网:https://www.atlassian.com/zh
官方安装介绍
https://confluence.atlassian.com/adminjiraserver/installing-jira-applications-938846823.html
Jira8.x版本安装与破解
下载地址:https://www.atlassian.com/zh/software/jira/download
下载安装包 长期支持版8.5.7
wget https://product-downloads.atlassian.com/software/jira/downloads/atlassian-jira-software-8.5.7-x64.bin
jira8.x 安装及破解补充,停止服务
拷贝数据库驱动到安装目录:
cp /opt/mysql-connector-java-5.1.49.jar /opt/atlassian/jira/atlassian-jira/WEB-INF/lib/

## 授予执行权限
chmod +x *.jar1234
破解
下载破解文件,该jar包可用于所有atlassian产品,下载地址:https://gitee.com/pengzhile/atlassian-agent/releases, 下载 atlassian-agent.jar, 将其下载到服务器目录下:/opt/crack/jira/
修改jira配置文件
vi /opt/jira/bin/setenv.sh

## 在export JAVA_OPTS 下面添加配置
JAVA_OPTS="-Xms${JVM_MINIMUM_MEMORY} -Xmx${JVM_MAXIMUM_MEMORY} ${JVM_CODE_CACHE_ARGS} ${JAVA_OPTS} ${JVM_REQUIRED_ARGS} ${DISABLE_NOTIFICATIONS} ${JVM_SUPPORT_RECOMMENDED_ARGS} ${JVM_EXTRA_ARGS} ${JIRA_HOME_MINUSD} ${START_JIRA_JAVA_OPTS}"

export JAVA_OPTS

export JAVA_OPTS="-javaagent:/opt/crack/jira/atlassian-agent.jar ${JAVA_OPTS}"12345678
重新启动jira
cd /opt/atlassian/jira/bin
./start-jira.sh12
启动出错或日志跟踪
If you encounter issues starting or stopping JIRA, please see the Troubleshooting guide at https://docs.atlassian.com/jira/jadm-docs-085/Troubleshooting+installation


Server startup logs are located in /opt/atlassian/jira/logs/catalina.out
Using CATALINA_BASE:   /opt/atlassian/jira
Using CATALINA_HOME:   /opt/atlassian/jira
Using CATALINA_TMPDIR: /opt/atlassian/jira/temp
Using JRE_HOME:        /opt/atlassian/jira/jre/
Using CLASSPATH:       /opt/atlassian/jira/bin/bootstrap.jar:/opt/atlassian/jira/bin/tomcat-juli.jar
Using CATALINA_PID:    /opt/atlassian/jira/work/catalina.pid1234567891011
验证是否成功
# 出现-javaagent
ps aux | grep javaagent
12
查看日志
cd /opt/atlassian/jira/logs# 日志文件出现=======agent working==========tail -f catalina.out
123
#出现参数提示java -jar /opt/crack/jira/atlassian-agent.jar===========================================================        Atlassian Crack Agent         ==============           https://zhile.io           ==============          QQ Group: 30347511          ===========================================================KeyGen usage: java -jar /opt/crack/jira/atlassian-agent.jar [-d] [-h] -m <arg>
       [-n <arg>] -o <arg> -p <arg> -s <arg>
 -d,--datacenter           Data center license[default: false]
 -h,--help                 Print help message
 -m,--mail <arg>           License email
 -n,--name <arg>           License name[default: <license email>]
 -o,--organisation <arg>   License organisation
 -p,--product <arg>        License product, support:                           [crowd: Crowd]
                           [questions: Questions plugin for Confluence]
                           [crucible: Crucible]
                           [capture: Capture plugin for JIRA]
                           [conf: Confluence]
                           [training: Training plugin for JIRA]
                           [*: Third party plugin key, looks like:
                           com.foo.bar]
                           [bitbucket: Bitbucket]
                           [tc: Team Calendars plugin for Confluence]
                           [bamboo: Bamboo]
                           [fisheye: FishEye]
                           [portfolio: Portfolio plugin for JIRA]
                           [jc: JIRA Core]
                           [jsd: JIRA Service Desk]
                           [jira: JIRA Software(common jira)]
 -s,--serverid <arg>       License server ID================================================================================# Crack agent usage: append -javaagent arg to system environment: JAVA_OPTS.# Example(execute this command or append it to setenv.sh/setenv.bat file):

  export JAVA_OPTS="-javaagent:/opt/crack/jira/atlassian-agent.jar ${JAVA_OPTS}"# Then start your confluence/jira server.12345678910111213141516171819202122232425262728293031323334353637383940414243
配置jira
进入http://ip:port页面,开始进行相关配置

(根据自己的配置,如果需要更换端口,修改配置文件即可),进行相应的配置me,本地数据库(根据开始设置的数据库信息填写)等,并获取服务器ID
## 将8080修改为需要的端口即可,tomcat参数优化
vim /opt/atlassian/jira/conf/server.xml
12
根据页面提示继续安装和配置,点击下一步到:请指定您的许可证关键字页面,点击生成jira使用许可证,需要注册一个Atlassian帐号
授权配置,复制机器ID:BCYW-5VEE-AJ3I-XOEX 生成许可证
## 生成的许可证,直接复制于jira页面提交即可java -jar atlassian-agent.jar -p jira -m aaa@bbb.com -n my_name -o https://zhile.io -s BCYW-5VEE-AJ3I-XOEX

-p jira ## (安装的是jira产品),具体的可以根据-p进行参考-m aaa@bbb.com ## (随意写)-n my_name ## (随意写)-o https://zhile.io ## (随意写)-s BCYW-5VEE-AJ3I-XOEX ## (即jira显示的服务器ID)12345678
将许可证复制到许可里面,点击下一步进行验证,验证需要几分钟。
点击设置图标,选择应用程序,查看许可信息:

参考文献:
https://blog.csdn.net/baidu_36943075/article/details/100519391
https://www.jianshu.com/p/9ca92a191f36
Confluence7.x版本安装与配置
下载地址:https://www.atlassian.com/zh/software/confluence/download
<p style="margin-top:0px;margin-bott